Display Holder Stand is used by everyone from stores and large shops that need to display their products beautifully and attractively, as these different stands arrange the products well and orderly.
This helps in arranging the shops, so the importance of these products increased because they help make The store more organized and organized.
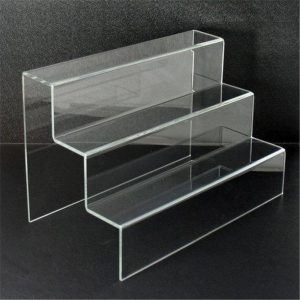
Display Holder Stand
The holder has many good specifications that make it the focus of attention and attention from everyone, so it is often purchased from all stores and also used by stores to display and arrange products, and also uses many other things that we will show you later, in the following lines we offer you details and information about its most essential properties :
Read more: Tabletop Display Stands for art: How to buy the right?
It is sturdy and strong

Display Holder Stand
Although its size is small and not huge, it is solid and durable; this idle makes of solid wrought iron that can carry significant heavyweights.
Which makes it an excellent choice for carrying heavy things and products such as tiles, paintings, frames, and pictures.
The holder characterizes by an artistic touch in brown in the frame, his outer. This holder distinguishes by its chic and modern shape and unique shape.
So do not worry about its bad shape that will hinder your decoration at home. You can use this holder in the kitchen, in hanging books, and place the things you want to arrange.
It makes with enough safety.
So it can sit on the ground nicely and well, which qualifies it to carry products and offers in a good, beautiful, and safe way at the same time.
How to build a photo frame
Display Holder Stand
We show you the steps that help you to build your frame:
- Measure the thickness (i.e., depth) and height of the picture frame. Using the pieces listed above, calculate the size of each piece.
- Using a miter saw or hand saw, cut the pieces to size
- Remove anything protruding from the wood with sandpaper before assembly.
- Assemble the pieces for the upper and lower arms.
- Apply the glue suitable for wood to the surface of each 1 x 2 spacer.
- Lay the two ½ x 2 pieces on top of their corresponding 1 x 2 pieces, flush with one end.
- Each assembled arm should now have an equal load.
- The opposite end should be equal to the depth of the picture frame.
- Using a hammer, drive two finished nails 1 inch through each of the ½ x 2’s>
- Correspondingly 1 x 2’s to join the pieces, creating the arms.
Read more: Top 3 programs in 3d booth design.